はじめに
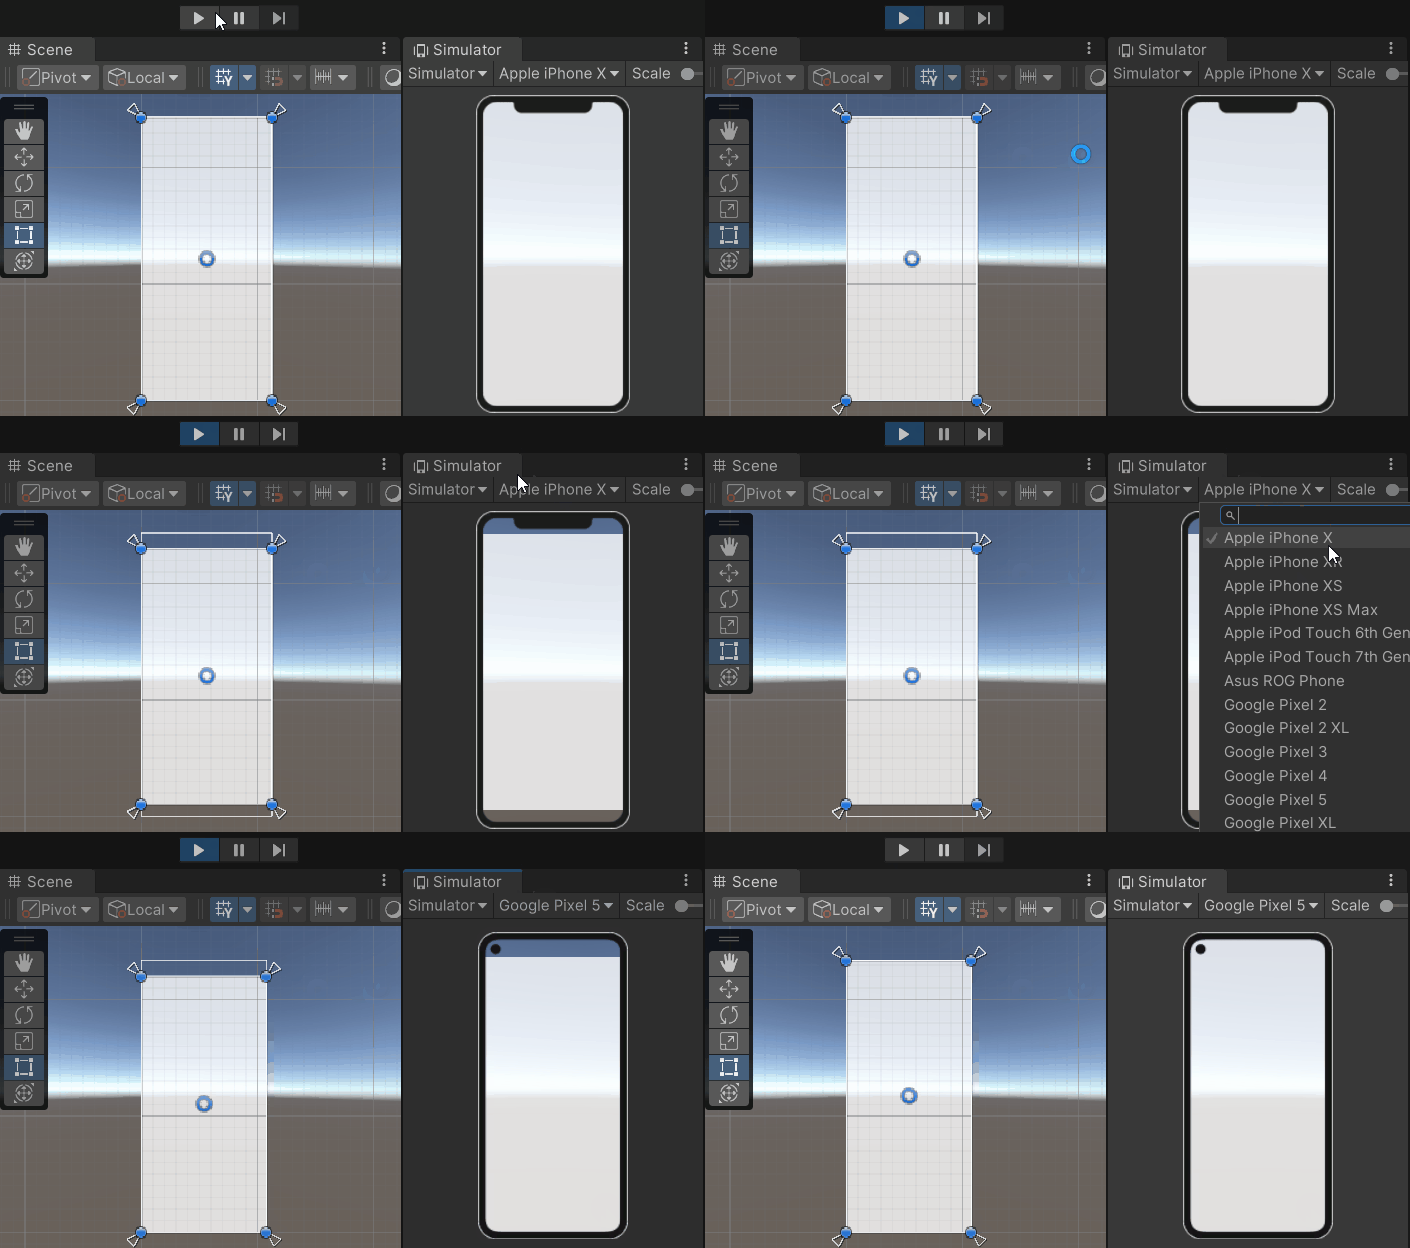
スマホにはセーフエリアという範囲があり、この範囲内ならノッチやパンチホールを避けてUIを配置できます。
本記事では、セーフエリアの対応方法について解説します。
検証環境
Unity
2022.3.12f1
対応方法
canvasの下に空のオブジェクトを作成しその下にUIを配置する

作成した空のオブジェクトに以下のスクリプトを貼り付ける
using UnityEngine;

public class SafeAreaPadding : MonoBehaviour
{
	private RectTransform m_rectTransform;
	private DeviceOrientation m_postOrientation;

	private void Start()
	{
		m_rectTransform = GetComponent<RectTransform>();
	}

	private void Update()
	{
		SafeArea();
	}

	private void SafeArea()
	{
		// スマホの縦横状態が変わったか確認
		if (Input.deviceOrientation != DeviceOrientation.Unknown && m_postOrientation == Input.deviceOrientation)
		{ return; }

		// スマホの縦横状態保持
		m_postOrientation = Input.deviceOrientation;

		ApplySafeArea();
	}

	// セーフエリアの適用
	private void ApplySafeArea()
	{
		var safeArea = Screen.safeArea;

		var anchorMin = safeArea.position;
		var anchorMax = safeArea.position + safeArea.size;
		anchorMin.x /= Screen.width;
		anchorMin.y /= Screen.height;
		anchorMax.x /= Screen.width;
		anchorMax.y /= Screen.height;
		m_rectTransform.anchorMin = anchorMin;
		m_rectTransform.anchorMax = anchorMax;
	}
}
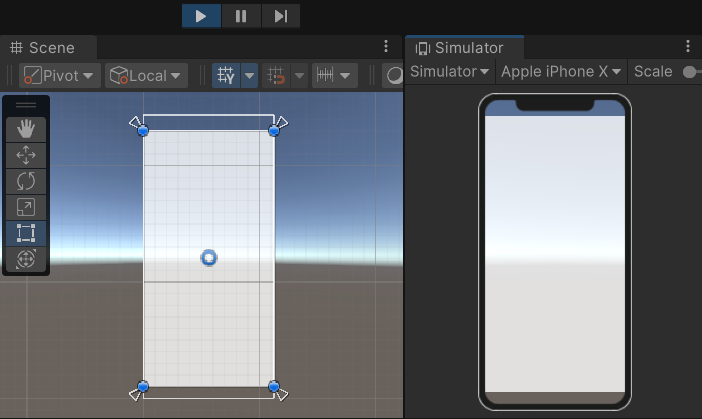
作業しやすいように RectTransform は以下のような設定にしておく

スクリプトの補足
画面の縦横が変わった時に対応できるよう Update() を使っていますが、
画面方向が固定の場合は Update() の必要ないので Start() で ApplySafeArea() を呼んであげれば良いかと思います。
動作確認
再生し確認してみます。
SafeAreaPadding 以下に配置しているUIは、インカメラやホームバーなどを避けて配置できると思います。


コメント